Table of Contents (10 sections)
Creating a stylish DIY home bar can elevate your space and provide a fun area for relaxation and entertaining guests. In this step-by-step guide, we'll cover everything you need to know to design and build your very own home bar, from planning your layout to selecting the perfect accessories.
1. Determine Your Space and Style
Before diving into the project, it's essential to determine the space you want to allocate for your home bar. This includes evaluating existing furniture and considering how much room you need for people to comfortably gather.
- Space considerations: Measure your available area and visualize how large you want the bar to be. A traditional home bar can be about 4 to 8 feet long, while a smaller space may only require a cocktail table or a simple cart.
- Style choices: Decide on a theme or style that matches your home decor. Are you leaning toward a modern, rustic, or classic bar look? Research Pinterest boards and home improvement sites for inspiration.
Professional Tip: Use painter's tape to outline the proposed dimensions of the bar on the floor. This visual representation can help you envision the space better.
2. Gather Your Materials
Once you have a clear vision of the space and style, it's time to gather your materials. Here's a basic list to get you started:
- Wood: Choose hardwood like oak or maple for sturdiness, or laminated boards for a budget-friendly option.
- Tools: Ensure you have the essential tools: saw, drill, screws, sandpaper, and a level.
- Finishing touches: Don’t forget about paint, stain, or sealant to protect the final product. You might also consider decorative items like bar stools, shelves, and glassware.
Tip: Always choose quality materials that not only fit your style but will also withstand wear and tear from use.
3. Build the Bar Frame
The next step involves constructing the frame of your home bar. This will provide the base for your countertop and support for shelves or storage.
- Cut your wood: For the frame, cut pieces to form a rectangular shape. Two long sides will be the width, while two shorter pieces will be the height.
- Assemble: Use screws to join the wood pieces at right angles, ensuring everything is square. Use a level to check for accuracy.
- Add legs: Secure four legs for stability. Ensure they are even to support the weight of the bar top and liquor.
4. Choose and Attach the Countertop
The countertop is the centerpiece of your home bar, so select a material that reflects your style. Options include hardwood, granite, quartz, or even reclaimed wood for that rustic feel.
- Installation: Once you have the countertop cut to size, attach it with strong adhesive and screws. Ensure it overhangs slightly for a comfortable drinking area.
- Finishing touches: Sand the surface smooth and any edges rounded for safety. Finish with the appropriate sealant to protect against spills and stains.
Common Mistakes: Make sure the countertop has adequate space and is not too heavy for the frame you've built. Additionally, double-check that all screws are tightly secured before proceeding.
5. Add Storage for Bar Essentials
Now that your bar is structurally sound, it's time to think about storage. Effective organization is key to a functional bar.
- Shelving: Install shelves above and below the countertop to store glasses, mixers, and liquor bottles. Open shelving can create a stylish display and make items easy to access.
- Drawers or cabinets: Consider adding drawers for utensils or tools like shakers, corkscrews, and cutting boards.
Data-Driven Insight: According to a survey by UFC-Que Choisir, good organization can reduce stress during entertainment situations, helping you focus on enjoying your time with guests.
6. Decorate and Personalize Your Bar
Once the structural components are complete, it's time to let your personality shine through with decor. Incorporate elements that reflect your taste and invite a cheerful ambiance.
- Artwork: Hang prints or photographs that match the theme of your home bar.
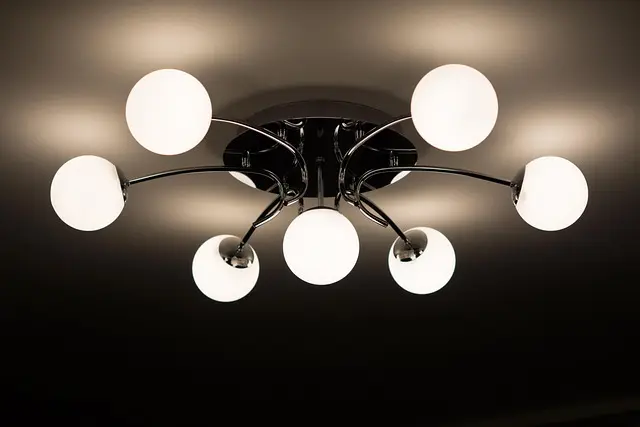
- Lighting: Use pendant lights or LED strip lights to create a welcoming atmosphere. Adjustable lighting can change the mood from bright to intimate.
- Accessories: Fill your shelves with unique glassware, interesting bottles, or decorative items like cocktail shakers and coasters.
7. Finalize Details and Stock Your Bar
Before you start serving drinks, take the time to finalize any small details that can enhance the functionality of your home bar. Make sure all items are organized and accessible.
- Stock your bar: Choose your favorite liquors, mixers, and garnishes. Think about the cocktails you enjoy the most and ensure you have the essentials for them.
- Checklist: Inspect everything—are the glasses clean? Is there enough ice stored? Are the tools easily at hand?
Checklist Before Hosting Your Home Bar
- [ ] Measure the space accurately
- [ ] Gather quality materials and tools
- [ ] Build the bar structure securely
- [ ] Install a safe, attractive countertop
- [ ] Create ample storage for bar essentials
- [ ] Decorate to match your home’s style
Glossary
| Term | Definition |
|---|---|
| Bar Cart | A mobile cart for serving drinks, often used in smaller spaces. |
| Mixology | The art and science of preparing cocktails. |
| Liquor | Distilled alcoholic beverages such as vodka, rum, and whiskey. |
📺 Pour aller plus loin : how to build a DIY home bar tutorial 2026 sur YouTube
Recommended products
Selected by our experts


Women's Golden Sunburst Mother Of Pearl Pendant Necklace Maison De Gala
wolfandbadger.com