Table of Contents (12 sections)
Home improvement can transform your living space, enhance functionality, and increase property value. In this DIY home improvement guide, we'll explore essential steps for every project, ensuring beautiful, functional updates. By following these steps, you'll be well-equipped to handle a range of projects, from simple repairs to significant renovations. Let's dive in!
1. Assess Your Needs and Set Goals
Before tackling any DIY project, it’s crucial to assess your needs and establish clear goals. Ask yourself:
- What areas of your home require improvement?
- Are you looking for aesthetic upgrades, increased functionality, or both?
- What is your budget and timeline?
Taking the time to consider these factors helps you prioritize projects and manage your resources efficiently. For instance, if your kitchen feels outdated, you might consider a remodel that includes not only cosmetic changes like new cabinetry but also practical updates like enhancing storage solutions. Make a list of specific tasks and anticipate potential challenges. This will serve as a roadmap for your project.
2. Gather Your Tools and Materials
Once your goals are established, it’s time to gather the necessary tools and materials. Here’s a checklist of essential items for various DIY projects:
- Measuring tape: For accurate measurements
- Level: To ensure items are straight
- Drill: For efficient drilling and screwing
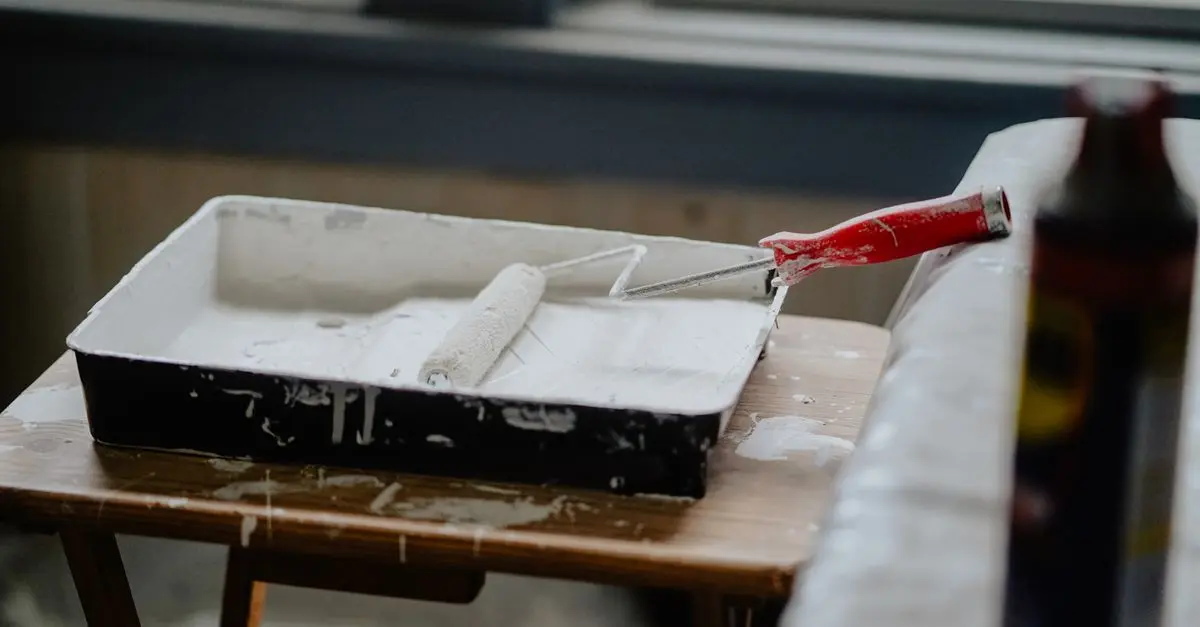
- Paint supplies: Brushes, rollers, and drop cloths for painting
- Safety gear: Gloves, goggles, and masks for protection
By preparing your tools ahead of time, you’ll streamline your workflow and avoid unnecessary delays. Be sure to also account for materials like paint, wood, tiles, or fixtures, ensuring you have everything on hand before starting.


Women's Golden Sunburst Mother Of Pearl Pendant Necklace Maison De Gala
wolfandbadger.com
3. Plan Your Project Step-by-Step
A successful DIY project requires a solid plan. Break your project into manageable steps. For example, if you're painting a room, a step-by-step plan might include:
- Move furniture and cover surfaces
- Repair any wall imperfections
- Apply primer if necessary
- Paint the walls and let them dry
- Reassemble the room
Each step should have a defined goal and time allocation. This not only keeps you organized but also helps track your progress, making it easier to identify if you need more time or resources.
4. Execute with Care
Now it’s time to execute your plan. Take your time, follow your steps, and stay focused. Here are some pro tips:
- Always measure twice and cut once to reduce errors.
- Use high-quality materials and tools to achieve the best results.
- Don’t rush; rushing often leads to mistakes that can require rework.
Moreover, it’s wise to keep a source of inspiration handy, whether it’s a Pinterest board or a dedicated design book, to help you stay aligned with your project vision.
5. Evaluate the Results
After completing your project, take a step back and evaluate the outcome. Here are some questions to consider:
- Did you achieve your original goals?
- Are there areas that could use improvement?
- How does the finished project enhance your space?
Self-evaluation is crucial for personal growth in your DIY journey. Note down any lessons learned, both for this project and for future endeavors. Consider sharing your experiences in an online community to help others and receive feedback.
📺 Ressource Vidéo
> 📺 For further inspiration: Watch DIY home transformation projects, a comprehensive exploration of various home improvement techniques. Search on YouTube: DIY home improvement transformation 2026.
Comparison Table: Common DIY Projects
| Project | Estimated Cost | Time Required | Skill Level |
|---|---|---|---|
| Kitchen Remodel | $5,000 - $20,000 | 1-4 weeks | Intermediate |
| Bathroom Update | $2,000 - $10,000 | 1-3 weeks | Intermediate |
| Exterior Painting | $1,000 - $5,000 | 1-2 weeks | Basic |
| Flooring Installation | $1,500 - $10,000 | 1-2 weeks | Intermediate |
| Landscaping | $500 - $5,000 | 1-4 weeks | Basic |
In this table, you can compare different DIY projects based on estimated costs, time required, and skill levels to help you choose the best options for your home improvement needs.
Checklist before Starting Your DIY Project
- [ ] Assess your needs and set clear goals
- [ ] Gather all necessary tools and materials
- [ ] Create a detailed step-by-step plan
- [ ] Execute the plan with care
- [ ] Evaluate results and learn from the experience
Glossaire
| Terme | Définition |
|---|---|
| Bricolage | Activité de construction ou de réparation d'objets. |
| Obstacles | Éléments pouvant compliquer l'exécution d'un projet. |
| Matériaux | Substances utilisées pour construire ou réparer. |
Conclusion
Embarking on DIY home improvement projects can be exciting and rewarding. With the right planning and execution, you can create a space that reflects your style and meets your needs. As you gain more experience, your confidence will grow, paving the way for even more ambitious projects in the future. Explore our recommended products below to enhance your DIY journey and make your improvements even more efficient.
💡 Avis d'expert : Pour des projets réussis, évitez les précipitations, prenez le temps de planifier et n'hésitez pas à demander de l'aide si nécessaire.
📺 Pour aller plus loin : DIY home improvement transformation 2026 sur YouTube
Recommended products
Selected by our experts
Maison Louis Marie No.02 Le Long Fond Perfume Oil
bluemercury.com
This product offers a refreshing scent that can enhance your home improvement experience, making it more enjoyable.
Women's Golden Sunburst Mother Of Pearl Pendant Necklace Maison De Gala
wolfandbadger.com
A stylish accessory that adds a touch of elegance to your space, perfect for showcasing after a successful DIY project.